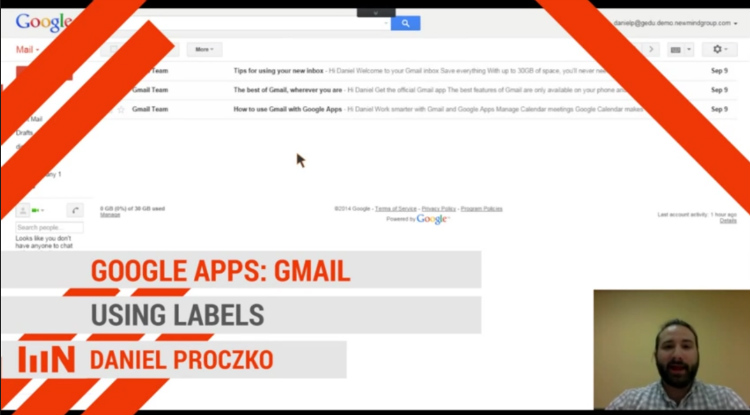
Today we’re going to talk a little bit about Gmail labels. Labels are a great tool they’ve added for you to categorize your emails so that they’re easier and faster to find in the future.
One of the benefits Gmail labels, as opposed to other email clients, is that you can apply more than one label to any email.
So let’s say you want to categorize your emails according to a company name- you can also categorize those same messages according to say, a certain workflow, like the sales process. For example you might have a prospect to email, so you’ll use the “Prospect” label, then you have a “Discovery call” set of emails, and then a “Quoting” set of emails- even “Followup” and “Close.” So you could use labels as a way to move emails down that chain of steps.
Of course that’s just one example of a strong way to use labels. There’s also the “zero inbox” method of labeling, which we’ll get to in a future How-to post.
So how do you create a label?
The easiest way is to begin at your inbox, select one email, and then in your menu bar you’ll see drop-down buttons for “Move to” and “Labels.”
![[1]](https://newmindgroup.com/wp-content/uploads/2014/10/1.jpg)
Both of them allow you to categorize emails, but we’re going to go with the “labels” tool for now, because it doesn’t actually move emails out of the inbox.
![[2]](https://newmindgroup.com/wp-content/uploads/2014/10/2.jpg)
Now, I know that this email is about Gmail, and I’ve already created a label called “Gmail.” I’m going to select that one, and after I click “Apply,” it will be then labeled “Gmail.” Simple!
![[3]](https://newmindgroup.com/wp-content/uploads/2014/10/3.jpg)
But I have two other emails that I would rather sort with an “Email” label, so let’s look at creating a new label for them. Under the “Labels” drop-down, I’ll use the text bar and type my new label name, “Email,”
![[4]](https://newmindgroup.com/wp-content/uploads/2014/10/4.jpg)
then click ‘“Email” (create new),’
![[5]](https://newmindgroup.com/wp-content/uploads/2014/10/5.jpg)
then click “Create” again. And now the new label will be attached to the email that I started with.
The next way I want to show you guys how to make a label is from within the email, because sometimes you don’t know how you want to categorize the message until you’ve actually read it.
![[6]](https://newmindgroup.com/wp-content/uploads/2014/10/6.jpg)
I can see that the open message is about Gmail, so I’ll come back to the same “Labels” drop-down while in the email, and I’ll select the “Gmail” label that we used earlier.
![[7]](https://newmindgroup.com/wp-content/uploads/2014/10/7.jpg)
And since the message is also about email, I’ll also check the box for our new “Email” label. Now the message is sporting two different labels at the same time.
![[8]](https://newmindgroup.com/wp-content/uploads/2014/10/8.jpg)
As you can see, at the top it tells you what labels are associated with this email.
If I then come back to my inbox, I can see my labels in two places: across the emails themselves (to the left of the subject line), as well as on the vertical column on the left hand side of the inbox, along with all the other labels I’ve created.
![[9]](https://newmindgroup.com/wp-content/uploads/2014/10/9.jpg)
If I wanted to tag some of these messages, say, “New Company 1,” I could select multiple messages using the checkbox on the left, and then follow the same steps—clicking the label “New Company 1” from my “Labels” drop-down, and then clicking apply.
![[10]](https://newmindgroup.com/wp-content/uploads/2014/10/10.jpg)
Boom! Now all three of those emails are labeled “New Company 1.”
Those are the basics on how labels work. There are also some cool ways to use labels with filters, so that certain rules tell your messages to be automatically labeled as they come in. Be sure to check back for How-to’s on filtering, as well as the “zero inbox” method of organizing your email.
Thanks for watching! You can check out our Youtube channel here. Would you like any personal questions addressed?